Posted by Tastefully Simple on December 22, 2021
Love holiday gnomes? These days, it seems like these cute little creatures are everywhere.
In fact, they’ve become one of the hottest holiday decorating trends over the past few years. (It really isn’t your imagination. Apparently Google searches for Christmas gnomes have increased 525% since 2015!)
But why are gnomes related to the holidays in the first place? Fun fact: gnomes have actually been associated with the Christmas season in Scandinavia for a long time. Similar to our jolly old Santa Claus, a jolly gnome known as “Julenisse” visits the homes of good children on Christmas Eve – a tradition dating back to the 1840s. Children set out a bowl of porridge with butter for him, and in return, he leaves presents at the front door.
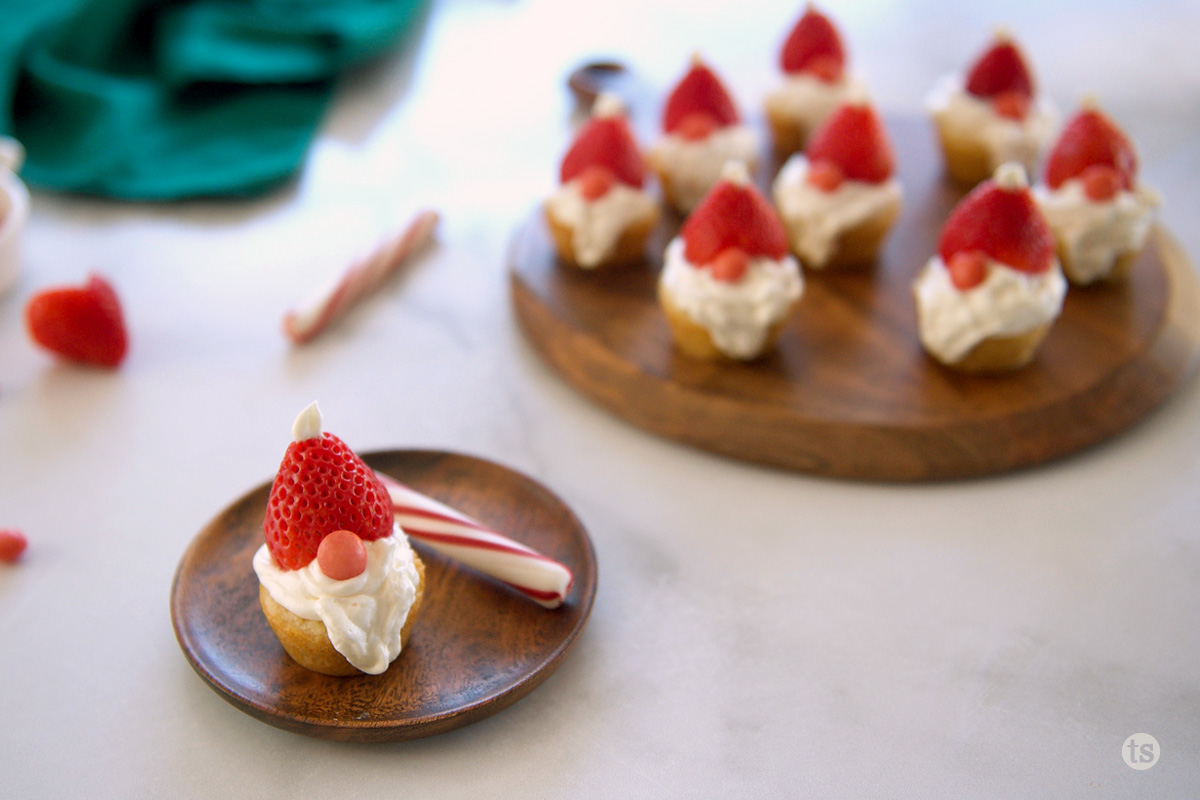
So if you’re “gnome” for the holidays this year, why not bring a little of that whimsy and tradition to your own table? Make this cute cookie recipe with your kids – a perfect activity for a snowy afternoon!
How to Make Gnome Sugar Cookie Cups
Here’s how to make these darling little gnomes, complete with step-by-step photos. You can also see the full recipe here »
Step 1: Create the Cups
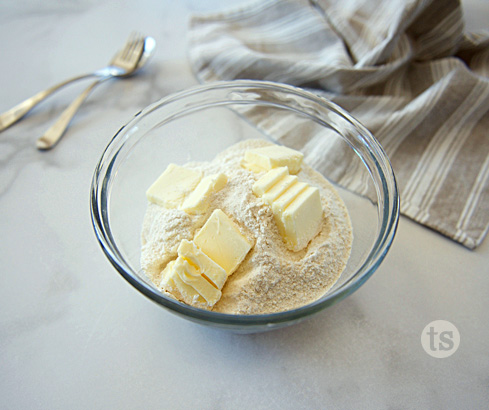
Preheat your oven to 350°F. In a large bowl, combine Ah, Sugar Sugar!™ Cookie Mix with 7 tablespoons softened, sliced butter.
Mix with a fork until small crumbles form. Add 1/3 cup 2% milk; mix until dough forms. (Go ahead and knead it with your hands – it works the best!)
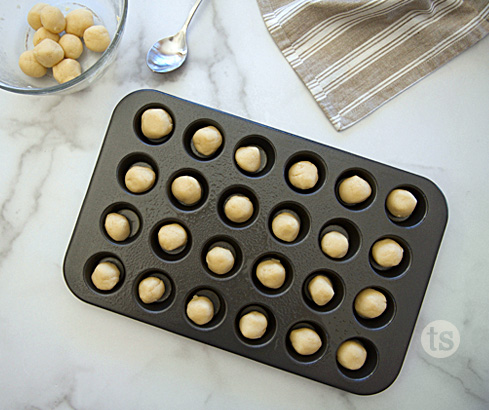
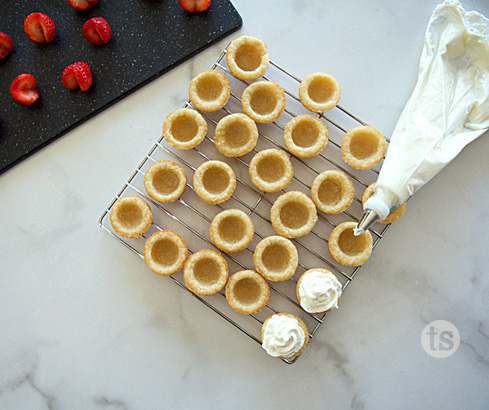
Roll the dough into 1½-inch balls. Place them in a 24-count mini muffin tin well greased with no-stick cooking spray. (Seriously, don’t be shy with the cooking spray. You don’t want these to stick!)
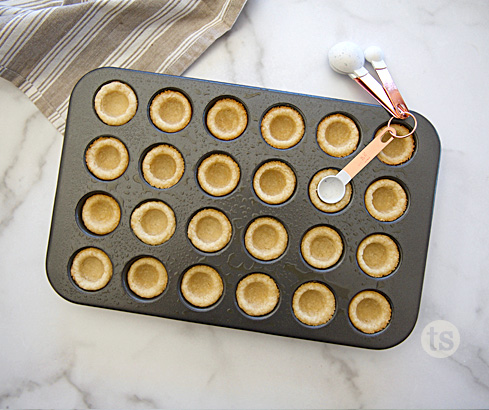
Bake 11-12 minutes. Remove from the oven, and immediately push down each cookie with the back of a spoon to form a cup.
Tip: If you have round measuring spoons, the teaspoon size works PERFECTLY.
Let the cookies cool 5 minutes in the pan. Gently run a butter knife around the edges to loosen each cookie cup and carefully remove them to a cooling rack. Cool completely.
Step 2: Get Frosty
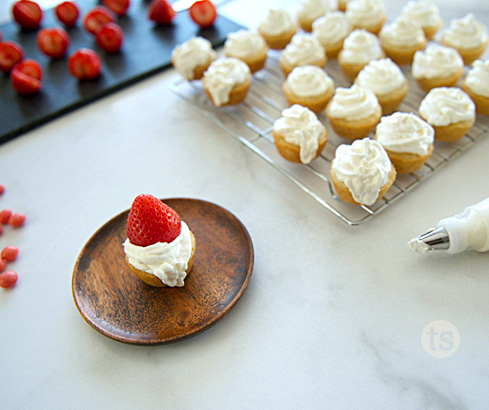
In a large bowl, combine 8 ounces thawed non-dairy whipped topping (aka Cool Whip®) and 1 (16 ounce) container of cream cheese frosting. Pipe generously into the cookie cups.
To create a “beard” for each gnome, smear a dab of frosting down one side of each cookie.
By the way, you don’t need a fancy decorating tip. Feel free to put the frosting in a resealable plastic bag, and snip the corner to pipe it into your cookie cup. Easy-peasy!
Step 3: Add Hats & Noses
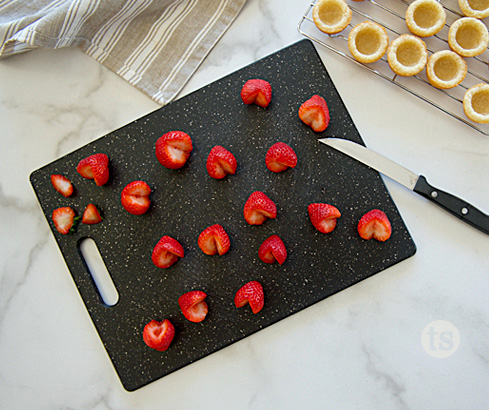
Next you’ll need 24 fresh strawberries. Cut the stems out of strawberries in a “v” shape, like this:
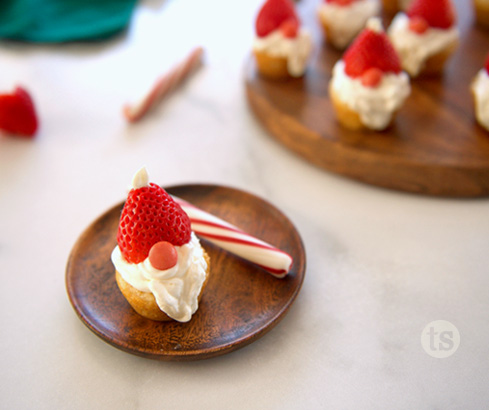
Top each cookie with a strawberry, tip pointed upward, to create a “hat” for your gnome.
Then press a small pink candy right below the strawberry as a “nose” for each gnome. I used pink Skittles® (available in the Smoothie and Wild Berry varieties), which worked great! If you’d like, you can pipe a tiny dot of frosting to the tip of the strawberry “hat” as a pom-pom, too. And voila!
Enjoy with milk, and store any leftover cookie cups, covered, in the refrigerator for up to one day.
Here’s to being “gnome” for the holidays, my friends!
Jen

